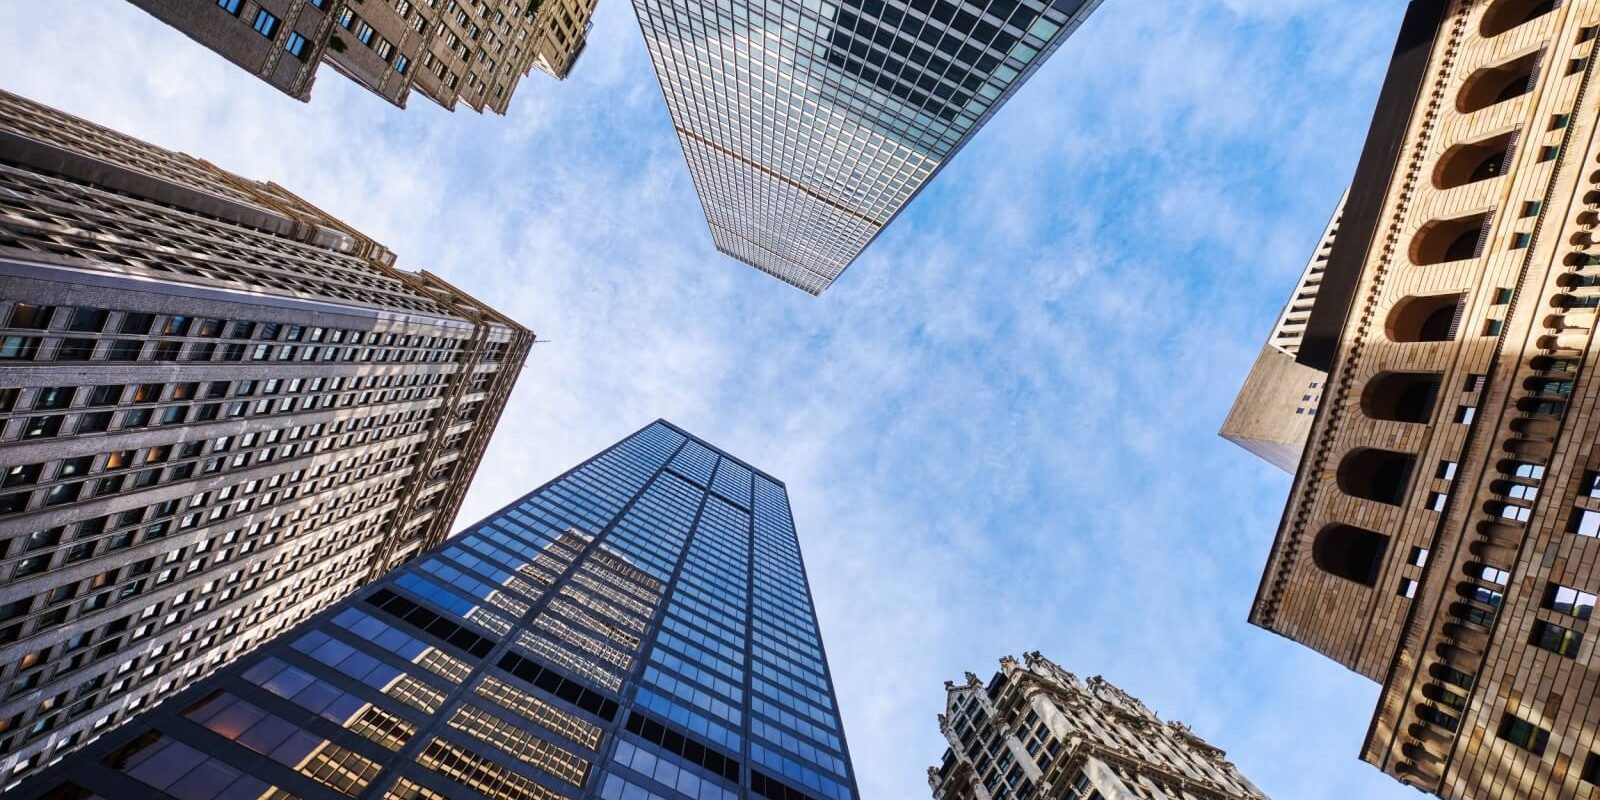


Good photos do real work for a commercial listing. They pull in more views online, more brochure requests, and more showings, which is what moves a space toward a deal. Weak or careless photos do the opposite, since prospects rarely give a listing a second look once a poor first image sets the tone. Strong images are the backbone of a complete commercial real estate listing, so they are worth getting right.
You do not need a studio to do that. A bit of preparation, decent light, and a few reliable habits are what separate listing photos that work from ones that fall flat. Here is how to get there.
Key Takeaways
- Strong listing photos lead to more views, more showings, and faster deals, while weak ones quietly cost you interest.
- Prepare the space first: declutter, clean, turn on the lights, and tidy the exterior before you shoot.
- Light matters most. Shoot interiors in daylight, and exteriors when the sun is low or at dusk.
- Keep lines straight. Vertical walls should be vertical, and horizontals should sit level.
- A wide-angle lens and a tripod make the biggest difference if you shoot it yourself, and a drone adds useful location context.
- Match the shots to the property type, and keep them evergreen by avoiding seasonal cues that date the listing.
Start With the Space
Before you pick up a camera, decide what the photos need to accomplish and which features deserve the spotlight, then get the space ready. Declutter and clean every area you plan to shoot, since you are marketing the space itself, not the things sitting in it. Turn on all the lights, replace any dead bulbs, and open the blinds to let daylight in. Outside, tidy the landscaping and, where you can, keep parking spaces clear for exterior shots. A quick pre-shoot walkthrough a day or two ahead helps you catch problems while there is still time to fix them.
While you are at it, mind what the camera can see. Clear away or angle around monitors, whiteboards, and paperwork that show confidential information, and if any people will appear in the shots, get a quick signed model release first. It takes a minute and saves a real headache later.
A Quick Pre-Shoot Checklist
- ✓Walk the space a day or two ahead, and note anything to fix: dead bulbs, clutter, scuffs on the walls.
- ✓Turn on every light and open the blinds before you start shooting.
- ✓Switch on your camera or phone grid overlay so you can keep verticals straight.
- ✓Give facilities or landscaping a heads-up to keep cars and equipment out of your exterior shots.
- ✓Check what is in frame, and clear away anything confidential before you press the shutter.
Get the Light Right
Timing makes or breaks a shot. For interiors, late morning to early afternoon usually gives the strongest natural light. For exteriors, aim for when the sun is low and falling on the front of the building, early or late in the day, or shoot at dusk if the property has good exterior lighting. Avoid times when the sun sits directly behind the building, which throws the facade into shadow; an overcast sky or a dusk shot solves that. In rooms with mixed or difficult light, blending a few exposures, often called HDR, evens out bright windows and dim corners without looking artificial.
Keep Your Composition Clean
The most common giveaway of an amateur shot is crooked verticals, a distortion photographers call keystoning. Keep vertical features like walls, columns, and door frames truly vertical, and make sure horizontals do not slope; most cameras and phones have a grid overlay that makes this easy. Use leading lines like walkways or corridors to draw the eye toward the best features, shoot from the corners of a room to capture its full size, and go easy on effects, since heavy filters and gimmicky distortion pull attention off the building and can make a listing feel less honest. Be wary of going too wide, too: an extreme wide-angle lens bows straight lines and stretches a room out of proportion, which reads as distortion even when everything else is level. It also helps to keep the set consistent, with similar camera height and color balance across shots, so the gallery hangs together.
Shoot for the Property Type
What makes a strong photo depends on what you are marketing. For office space, lead with natural light, finishes, and shared amenities, the parts a tenant imagines using day to day. For industrial and warehouse space, the selling points are practical, so show clear height, dock doors, column spacing, and truck access, and add an aerial that captures the yard and the approach. For retail, frontage and visibility carry the most weight, so capture the storefront, the signage sightlines, and the foot and vehicle traffic going by. Matching your shots to what actually matters for that property type helps more than any amount of polish.
Gear, Drones, and Video
If you are shooting it yourself, two pieces of equipment matter most: a wide-angle lens, which fits more of a room into the frame, and a tripod, which keeps shots level and sharp in low light. A DSLR or mirrorless camera handles interior lighting far better than a phone, though a modern phone on a tripod does a respectable job for simpler spaces. For larger properties, a drone adds context that ground-level photos cannot, showing location, access, and nearby amenities from above. Video walkthroughs and virtual tours go a step further and tend to keep prospects on a listing longer. Strong photos and video also feed the rest of your marketing, so the work pays off well beyond the listing page.
Common Mistakes to Avoid
Most weak listing photos come down to a handful of fixable habits.
The mistakes that sink listing photos, and what to do instead
| Common mistake | Do this instead |
|---|---|
| Tilted or leaning walls | Keep vertical lines straight and horizontals level, using your camera’s grid. |
| Dark, flat interiors | Turn on all the lights, shoot in daylight, and blend exposures for tricky rooms. |
| Cluttered spaces | Declutter and lightly stage first; you are selling the space, not the contents. |
| Harsh midday exteriors | Shoot when the sun is low and on the building, or at dusk for lit exteriors. |
| Quick phone snapshots | Use a wide-angle lens and a tripod; a DSLR or mirrorless camera handles light better. |
| Season-stamped photos | Avoid snow, fall leaves, or holiday decor that date the listing and shorten its shelf life. |
| Skipping the context | Add a drone or elevated shot to show location, access, and nearby amenities. |
DIY or Hire a Pro?
Both routes can work. A professional brings gear, lighting, and an eye that show in the final images, at a cost. Shooting it yourself saves money, and with preparation, good light, and a wide-angle lens, the results can be more than good enough, especially for straightforward spaces. Whichever you choose, the photos are only as useful as where they end up. They carry much of the weight on your brokerage website, so keep them organized in cloud storage, tagged by property, where your whole team can reach them when a listing goes live.
Frequently Asked Questions
What camera is best for commercial real estate photography?
A DSLR or mirrorless camera with a wide-angle lens gives the best results, especially in interior light. A modern phone can work for simple shots, but a tripod helps either way.
What is the best time of day to photograph a building?
For exteriors, when the sun is low, early or late in the day, or at dusk if the building is well lit. For interiors, late morning to early afternoon, when natural light is strongest.
Should you use a drone for commercial real estate photos?
Often, yes. Aerial shots show location, access, and surroundings that ground-level photos cannot, which is especially useful for large or industrial properties.
Do you need to hire a professional photographer?
Not always. A professional brings gear and experience that show, but with preparation, good light, and a wide-angle lens, strong DIY results are achievable.
How many photos should a commercial listing have?
Enough to cover the exterior, the main interior spaces, key amenities, and the surrounding context. Quality and coverage matter more than a fixed number.



Matthew Preston
Content Writer, CRE News & Market Analysis
Matthew has covered commercial real estate for CommercialCafe since 2022. He focuses on the office and industrial sectors, reporting on leasing, development, and investment across national markets and individual submarkets. His work draws on data and original research. He also writes about demographic shifts and urban innovation in U.S. cities. The New York Times, The Real Deal, Bisnow, The Business Journals, and Yahoo Finance have cited his reporting.